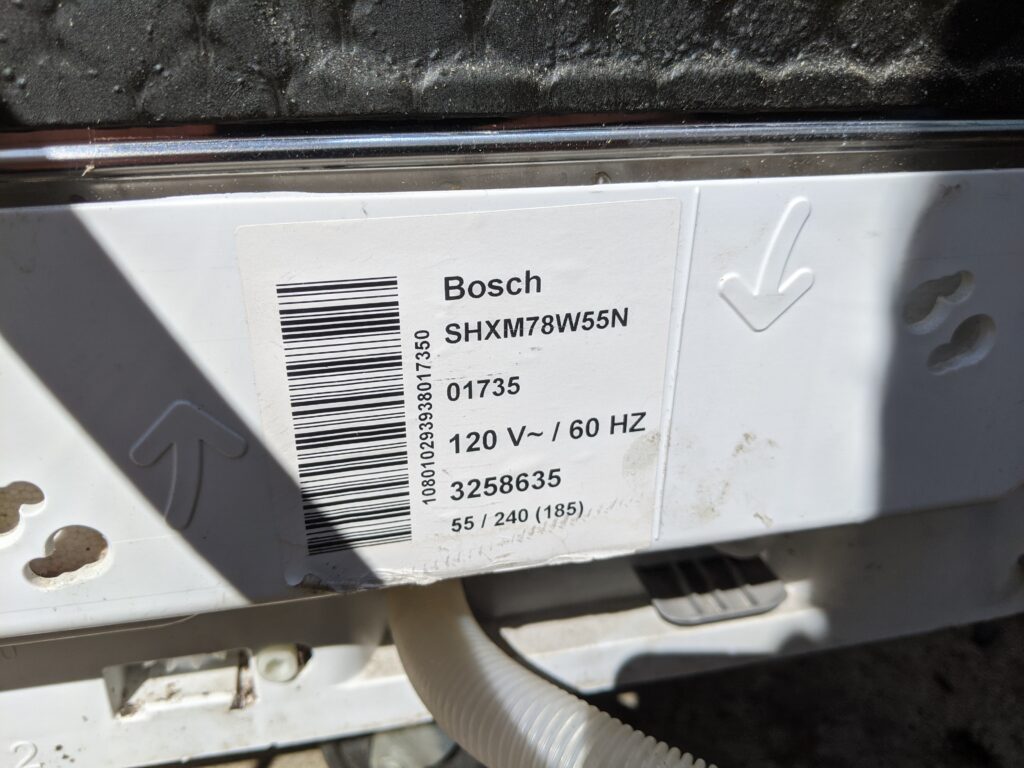
On the block today is a Bosch SHXM78W55N Dishwasher I picked up used for $40, claiming that it ‘leaked’ and ‘they were done messing with it’. A quick internet search showed this to be a fairly new model, still available, at painful $900 new locally. For me, this was worth a gamble, especially considering my existing LG Dishwasher that came with the house was worn out, needing parts and a pump rebuild to the tune of over $200+ and it still being a lower end/older unit.
I went and picked it up, brought it home, and plugged it in.

Oh hi there $40 dishwasher
After plugging things in, the front panel wouldn’t turn on and it appears there might be more than an issue with ‘leaking’. The bottom pan was definitely wet and I noticed a Styrofoam float sensor among a bunch of dust/goop collected in the bottom.

I popped the covers off the control PCB and started looking for issues. Immediately I found something concerning….but expected.

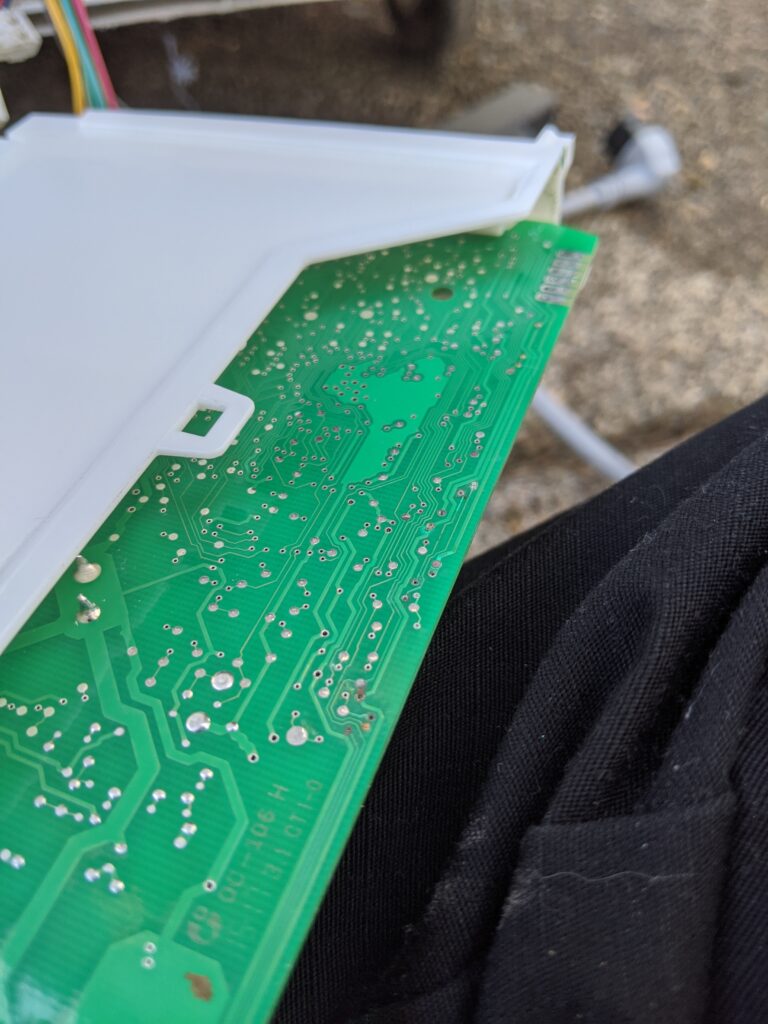
Looks like the PCB took a bit of a swim in some moisture while power was applied. Some quick pokes with the DMM revealed that most of the discolored top-to-bottom vias were no-connects. This is very commonly found in non-coated boards that have gotten wet, the water loves to wick in these holes and corrode away at the copper.

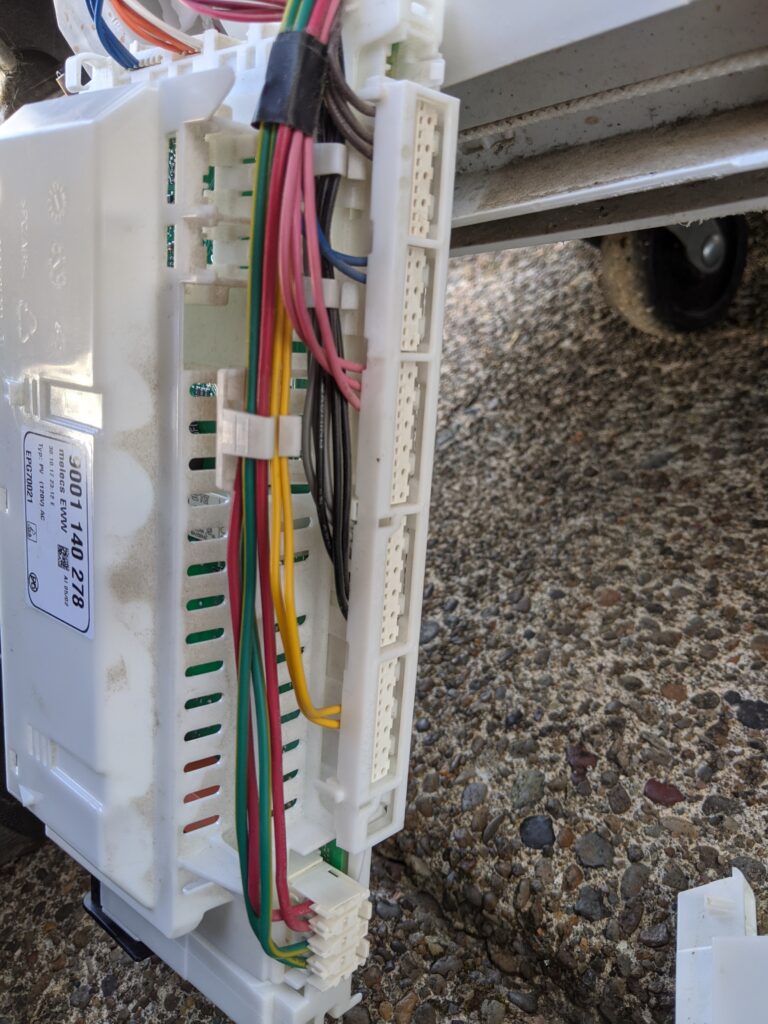
And as a reminder, don’t forget to take pictures of how those cables are attached…sometimes the manufacture service manuals aren’t good about helping you find the homes after things are ready to reassemble.


I pulled the board into the lab and started doing continuity tests, finding a handful of broken traces/vias that needed re-built with stranded wire. Generally speaking a via can be replaced with a fine strand of wire through the board and soldered on the top/bottom after removing some of the solder mask of the annular ring. If these are dissolved/gone, the strand can be taken upstream to find good clean copper under the solder mask. The issues seemed contained to this bottom edge of the board, interestingly enough probably held there by the boards water protection housing!

I cleaned up these housings once done repairing the board and started re-assembly. Before stuffing the control board back in, I cleaned the pan and looked for the source of the original problem…remember the leak?

Following the little stream marks across the pan, it appears that the source of the leak was the input connector, likely never tightened properly or overly stressed by a poor install. A small catch trough under this connection point collects any water and brings it to the center of the pan so that the ‘leak detector’ float can eventually be lifted and alert the user before their floor gets wet. Improper installation likely caused this units failure and consequently to my doorstep for repair and eventual use; even if requiring a little attention first.

Thanks for following along for another repair!