After many weeks of “Brake Pads” warning on my city driver, it was time to install the new rear brake components I’ve been sitting on. On the docket were two new rear rotors, rear brake pads, and wear sensor.
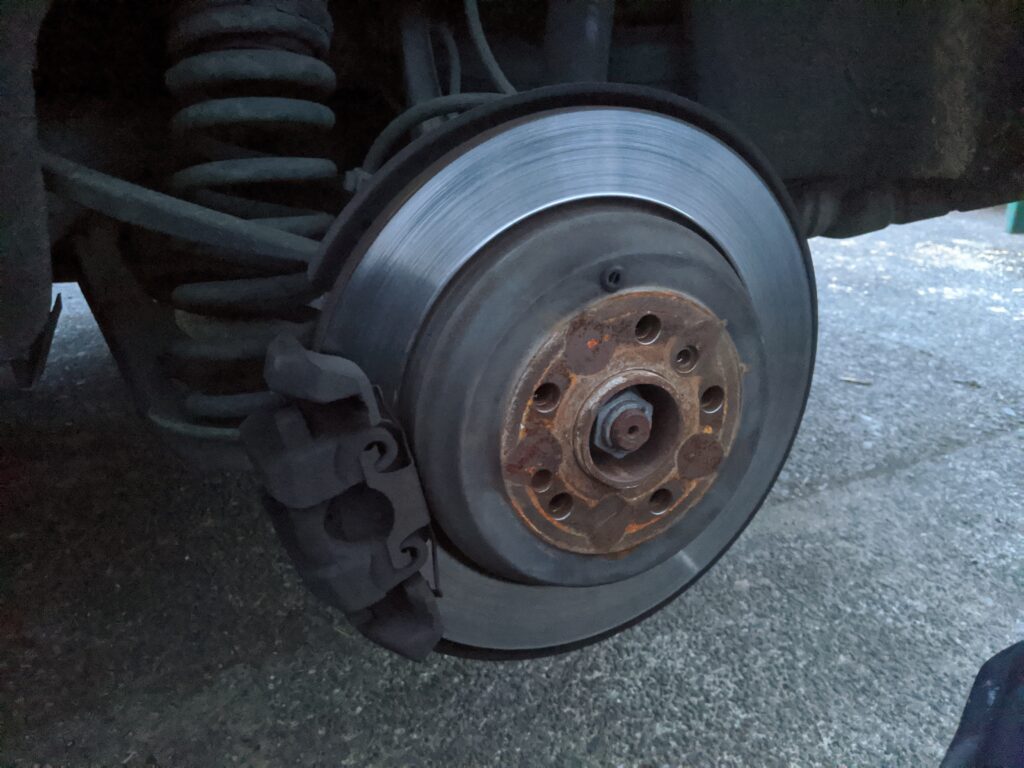
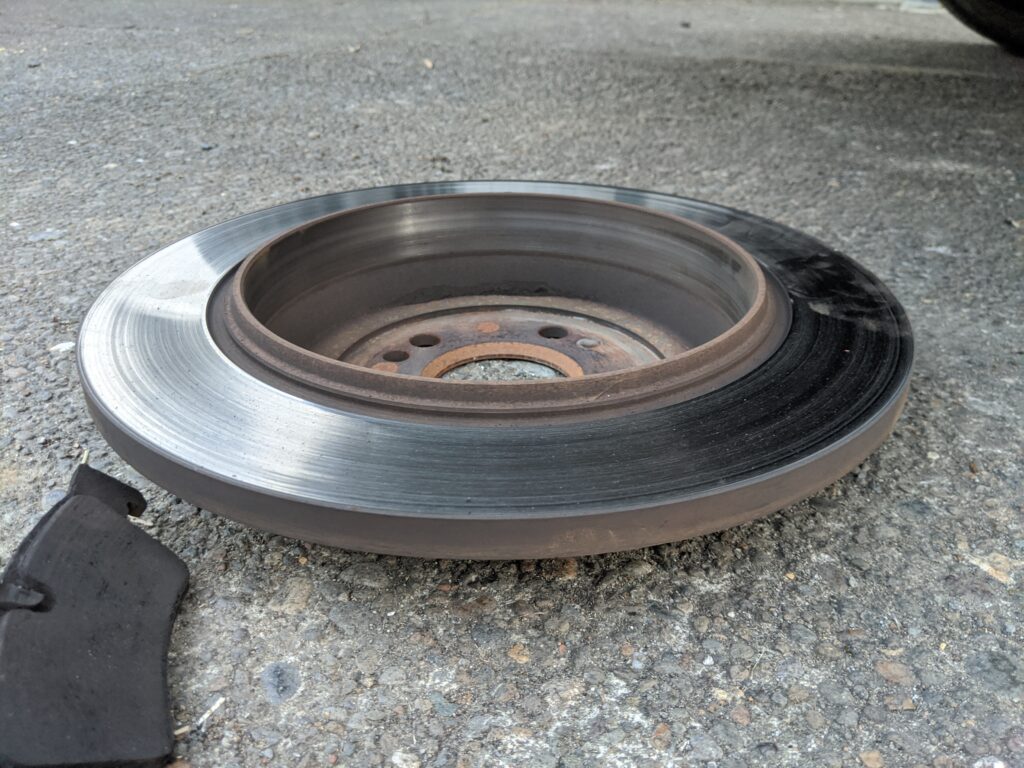
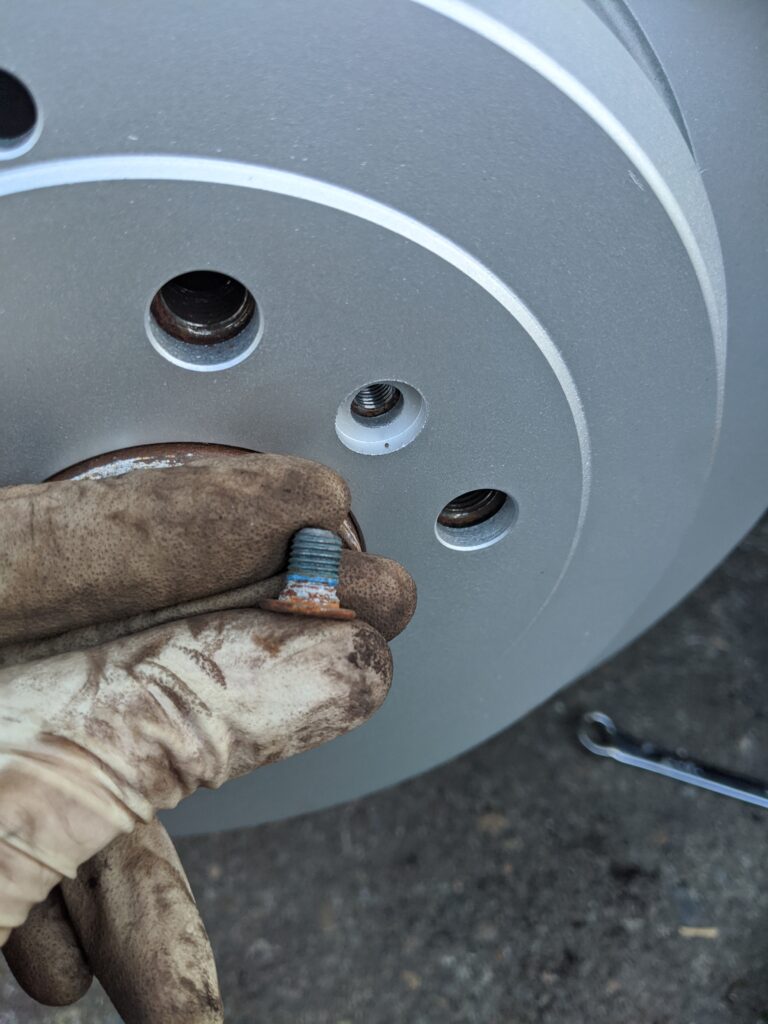
After removing the caliper, safely hanging not by the hose, pulling the pads, and removing the rotor retaining bolt, I pulled the rotor out and off the car. I compressed the caliper piston back in to allow for installation of the newer-thicker pads.
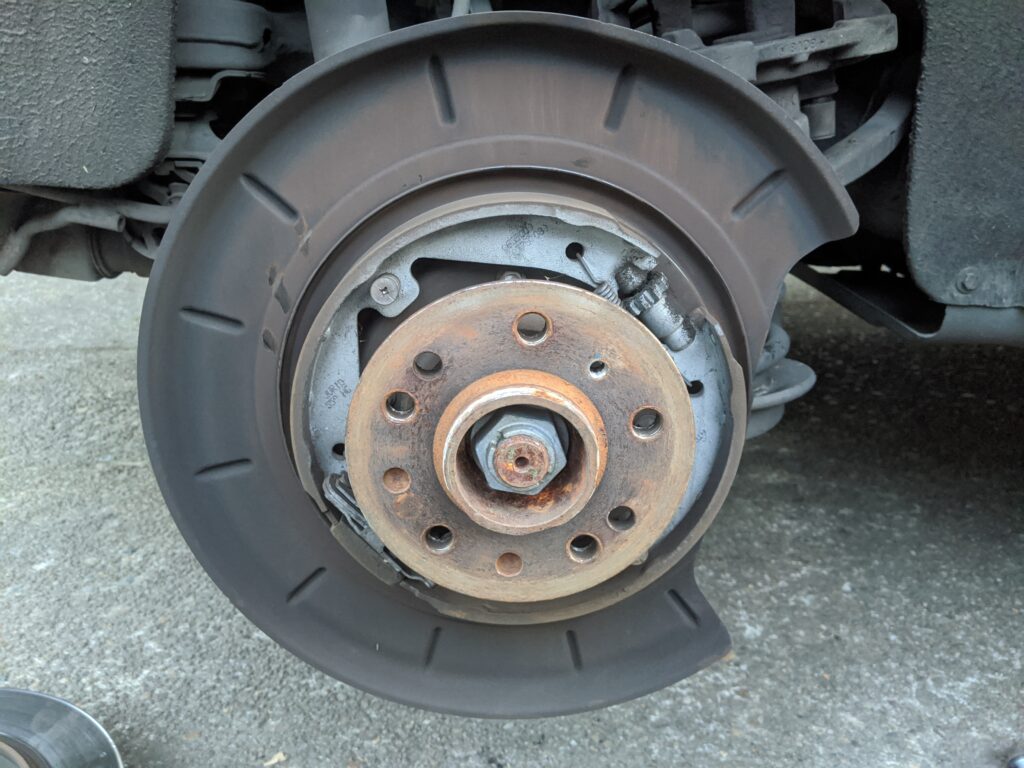
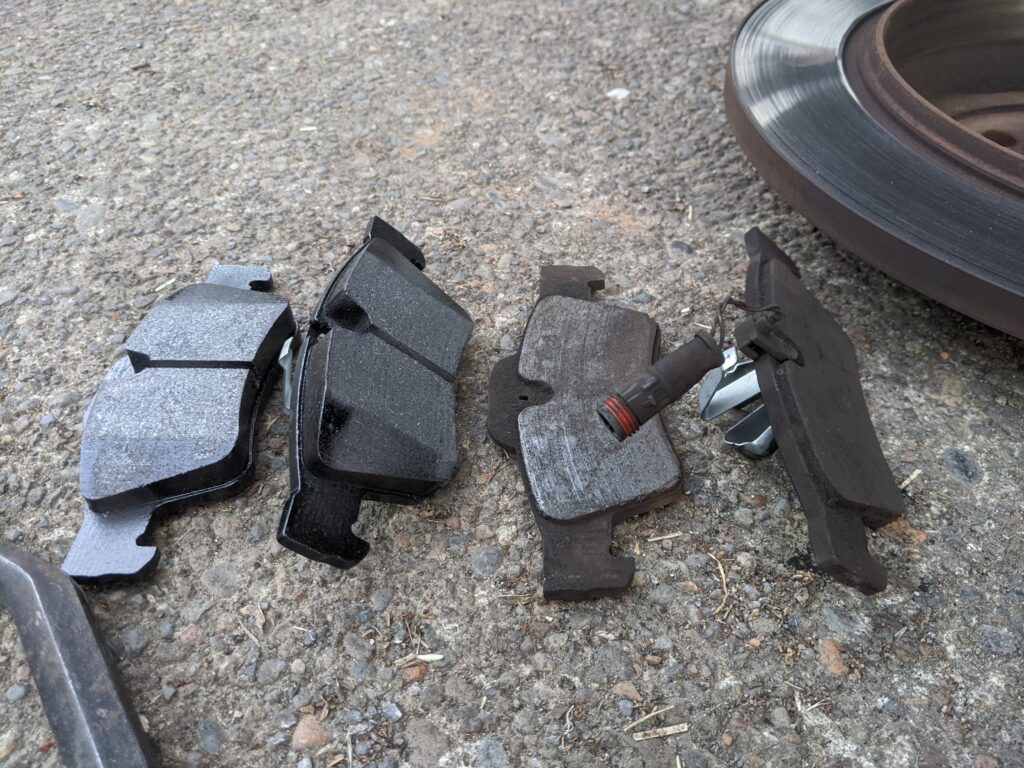
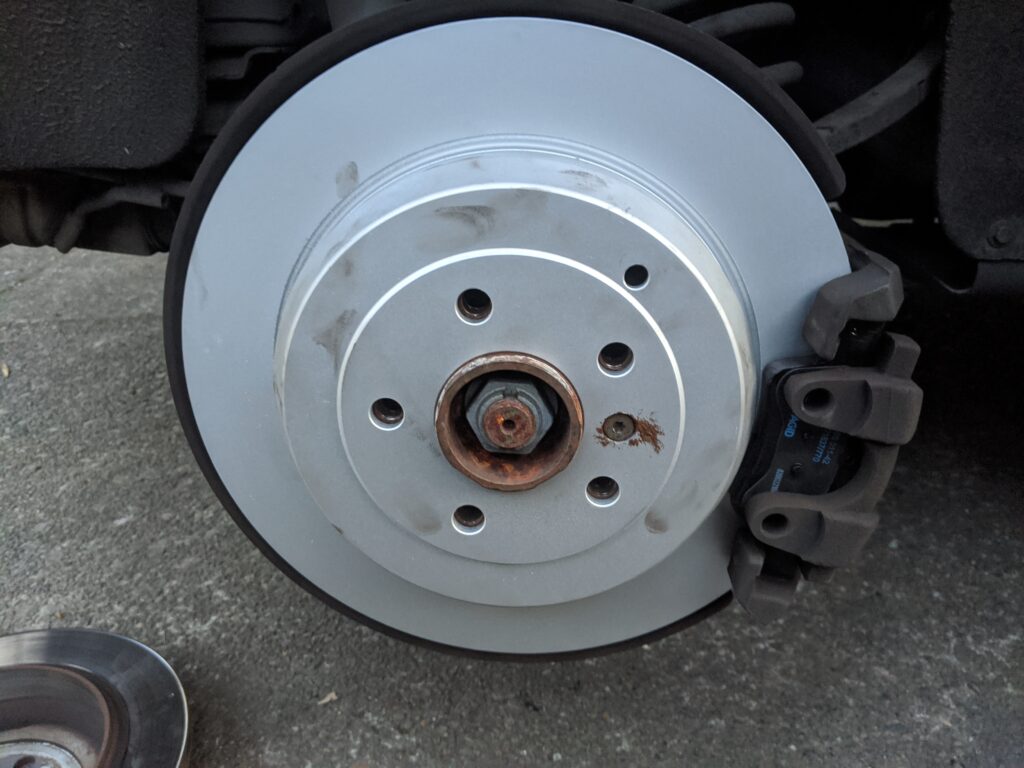
I confirmed free movement of the emergency brake adjuster and blew all the loose dust/etc. out. This will enable me adjusting the emergency brake ones the new rotors are on. Inspected the old pads and wear sensor, definitely touching down. This wear sensor busted as I was trying to pull it before photoing.
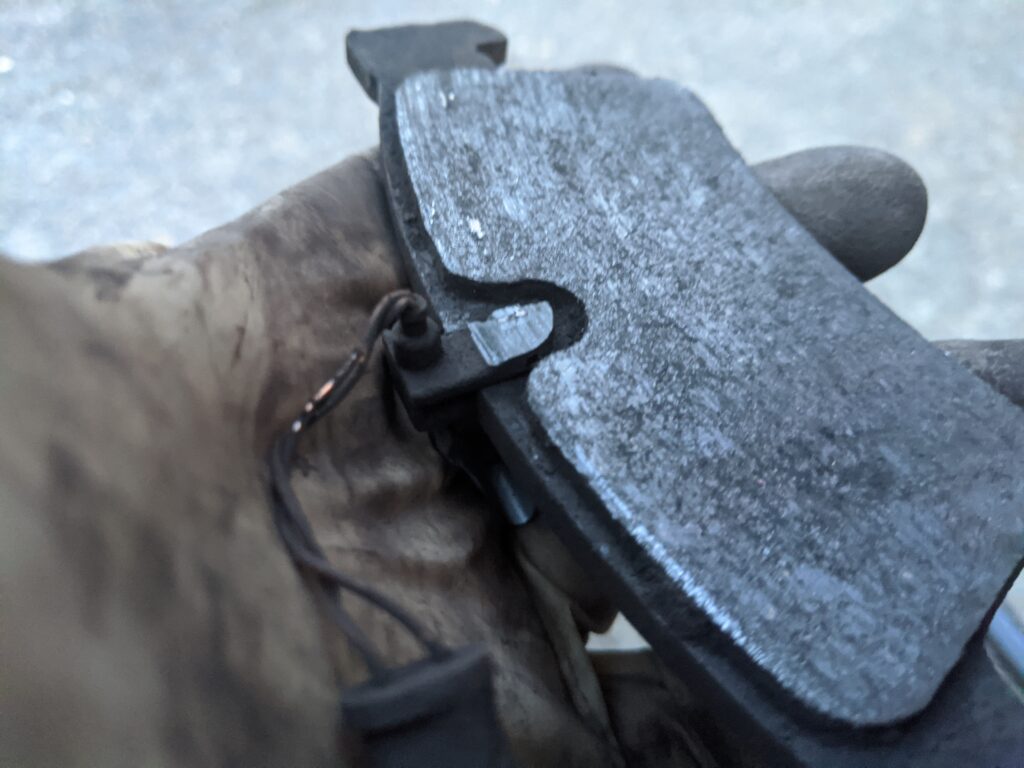
Comparison of the old pads and new, quite a difference. Note that the wear sensor isn’t installed yet in the new pads.
Reassemble the brake system, rotor first and install the small bolt. I tend to put a small amount of anti-seize on the touchdown points on these because the wheel retains them and they’re only there to hold things in place and indexed while the wheel is off/loose. Additionally they tend to be VERY hard to remove. A little blue locktite works too.
Caliper back on next, compressing the piston to allow for the new pads is important. Push slowly, and sometimes fluid may need to be bled while doing this to prevent issues with up-stream ABS components. Checking out the caliper slides while here is not a bad idea either. These single piston calipers need to ‘float’ on the rotor to work properly. Here in the PNW our cars don’t get heavily salted so most of these components are good for the life of the vehicle if driven and maintained regularly. Check condition of hoses as well while here. Adjust the e-brake through a lug-bolt hole…tighten until rotor won’t turn then back off until just barely dragging. Confirm after doing both sides that the e-brake pedal engages near the top half.
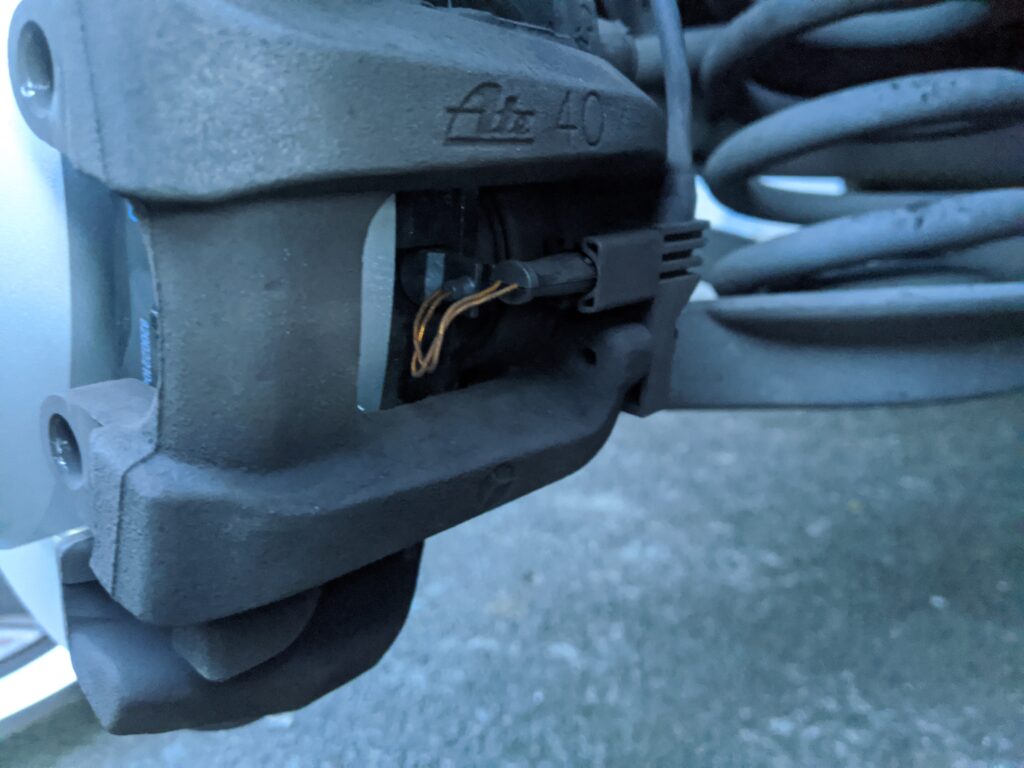
Remembering to install and re-connect the wear sensor is important. Routing the wires where they will not get cut up or damaged by the spinning rotor is also important. Don’t forget the anti-rattle clip on the caliper when you’re done!
Thanks for joining in for what was a pretty straight-forward repair, documented for your pleasure.