Ubiquti AirCAM Repair – Link but no GUI

Hello all,

Quick note over here from the world of failing AirCAM’s. I recently had a 2nd failure of my exterior mounted AirCAM. Since the RMA process was coming up bunk I decided to attempt a repair myself. I run an electronics engineering lab so have access to equipment (hot-air reflow, metcals, etc.)

The camera under repair is one I had die in operation about about 3mo of continuous use. The camera was exhibiting a condition where it would link up (sometimes at 100BaseT, always at 10BaseT) but I could never reach the GUI or do anything but SOMETIMES ping the unit (192.168.1.20). Flexing the PCB or agitating the camera didn’t seem to make a difference.

I opened up the camera (quite easy) buy removing the sun shield, unscrewing the lens cover, popping off the triangular face ring, and removing the black screws. Once removed, I could slide the camera/PCB board out of the body and engage in repair activities. The PCB/components are coated with what I suspect is an anti-moisture protector so make sure you have adequate airflow when doing any heating of the PCB.

Image

Image

Image

I reflowed the small BGA package (U3) and touched the rest of the board with the hot air JUST in case there was a poor lead-free solder connection. Once reflowed, the camera snapped back to life (able to access the GUI, etc.)

As I’ve had issues with BGA components before (especially when using lead-free solder) I am not terribly surprised to see problems here. I’m happy to see that static electricity didn’t kill this device (apparently that is another common failure). My last camera would transit packets but not receive them (similar issue?)

Interesting side note that the device PCB has a USB connector site that can be populated. Not sure what for, but it’s there.

Hopefully these notes treat someone well. If you don’t have access to the right tools, I can help re-flow your failed AirCAM (if out of warranty) as a last resort. Contact me for details.

Glenn Martin MT-1845 Tower Documentation

I had a difficult time finding this documentation so I’ll post it here for anyone whom may need it in the future.


This is for a Glen-Martin (G-M) MT-1845 50ft crank-up ground-mount tower. This is the same tower found on their TT-1845 (trailer mounted 50ft tilt over tower), but with a base plate for direct ground mounting.

PDF Document for Base Plate/Concrete Requirements: Chb13-18

PDF Document for Tower Specification Drawings: MT-1845


HB-13-18

MT-1845 1

MT-1845 2

PIP-2424LC Pure Sine Inverter Charger Review

I recently purchased a PIP-2424LC inverter/charger w/ Solar charger off of ebay from the Taiwanese company MPPSolar.

Below is a review of the item (with photos).


We purchased two of these units, one with the network interface module, one without. Both of these units were connected to 24V DC AGM battery banks (two group 8D batteries in series each). They were independently powered from either phase of a 240V drop (each had their own 120V 30A breaker). 200A fuses were used with 00 wire on the DC inputs. The sine-wave from these units was actually quite clean (especially considering the design) and played well with all of our true-sine sensitive devices. We did find that during brownout, the device switched over at too low of a voltage (even though we set it to be 100V) and some servers/computers would actually drop while the switchover was happening. This obviously defeats the purpose of a battery backup inverter/charger for UPS use.

After ~6mo use, one of the units showed DC BUS FAIL and was emitting a terrible smell. It failed into AC only mode (inverter not functioning) so at least the computers stayed online. After working with the vendor (support@mppsolar.com) they advised us to remove the cover and photograph the internals. Below are what we found.

IMG_20130328_100408_052


These are two capacitors off the main DC bus right at the switching MOSFETS. It appears that poor wave-soldering caused intermittent connection, which lead to high resistance and when the units would drop into inverter mode, melting of the solder. These two capacitors were loose in the unit (had unsoldered/burned the leads off). The 3rd capacitor was loose but not fully removed.


IMG_20130328_100430_151


Wave solder screens under the capacitors were burnt, showing a clear indicator of high-resistance connection. The capacitors were still fully functional when tested.

IMG_20130328_100442_887

A shot of the PCB where the capacitors connect.

IMG_20130328_100458_808


A photo of the MOSFETS showing that they are all in-tact.

IMG_20130328_100517_852

Another shot of the MOSFETS on the other side, again all in-tact.

MPPSolar wanted us to ship them the PCB board so that they could then ship us a replacement (meaning even more downtime, even more expense, and us doing all of the labor in-house). Purchasing these units from outside the country is the risk you take and in this case, that was a bad choice.


In summary we determined that poor wave soldering on this unit resulted in premature failure. The difficulty in configuring the voltages at which the unit goes into changeover can be a large issue for people with sensitive electronics or applications where 100%  up-time is a requirement. I would suggest not to waste the money on these units as even though the tech support team is good with communication, you will find yourself shipping parts to/fro Taiwan on your own dime.

I would also HIGHLY suggest never using one of these units in a mobile application as the construction methods and soldering type is not adequately stable for longevity.

Elevation Profiles for Portland, OR (PDX) to Black Rock City, NV (BRC)

For those of us who have naturally aspirated heavy vehicles, these graphs may be of some use.

Thanks to http://www.gpsvisualizer.com/elevation for the tool!


The standard route (I-5 South to Hwy 58 to Hwy 97 to K-Falls to Hwy 139 to Hwy 299 to Hwy 447 to Gerlach, NV) Shortest with most pre-elevation low-altitude driving (better MPG at lower altitudes).

Elevation 58 to 97


This route is very similar except travels up over 26 and directly onto 97 (lots of higher altitude driving and a fair amount of decent/climb. (Hwy 26 E to Hwy 97 to K-Falls to Hwy 139 to Hwy 299 to Hwy 447 to Gerlach, NV)

Elevation 26 to 97


This route is using Hwy 22 out of Salem. (I-5 South to Hwy 22 to Hwy 97 to K-Falls to Hwy 139 to Hwy 299 to Hwy 447 to Gerlach, NV) Not as much low altitude driving as the 58 route, but it does have a nicer climb profile.  I’ve done this route and it’s not too bad but you definitely notice running up around 3000-4000ft right off the freeway.

Elevation 22 to 97


This is the ever popular route that uses Hwy 58 but passes by SummerLake hot springs. (I-5 South to Hwy 58 to Hwy 97 to Hwy 31 to Hwy 395 to Hwy 299 to Hwy 447 to Gerlach, NV). The length is a bit longer than the K-falls route and has a few more random bumps with steep peaks along the way, but the SummerLake option is a nice one.

Elevation 58 to 31

Hope these are useful!

Droid 4: 4 Gold Pins Under Rear Cover – Successful 5V Charging at 1.5A

Hey all,

Connected a current limited power supply to Gnd and Vin on the back of my Droid 4 (pin lower right = gnd, pin lower left = Vin) at 5.0V and I had literal fast charging occurring. Screen showed charging, amperage was around 1500mA to start scaling down to 1300mA-1100mA as it reached full charge. It seems to pass through the Lithium Ion battery charging circuity so appears to be a safe way to dump in lots of power. Obviously these pins are designed to pick up power from the rear inductive charging cover that Motorola produced, but I wanted to try just pure 5.0V power.

I’m thinking of grabbing some extra rear covers and making up some drop-in charging stations or alternative inputs (like solar/etc.)

Nice to get away from having to charge on the USB Micro connector.

This seems like a VERY good thing if someone was building an external battery pack that fit onto the phone (like the one for the iPhone)…you could power it on, charge via this connector, and shut it down whenever you liked. The power draw on the phone drops off massively once it is charged so if you started with a full charge, it could float the battery all the way to empty.

Time to experiment 🙂

Again, for reference:

Bottom right (when viewing back, camera at the top):
Gnd is Lower Right – Nearest the microUSB connector
Vin is Lower Left – Opposite side from Gnd on the bottom row

Don’t hit it with too much voltage! I limited myself to about 4.8V and 1700mA max. 🙂

Cheers,

Vita Spa Part Cross Ref

It took me some time to find this info, so I’ll post it here in-case anyone gets in the same spot as me.

I found that my recently acquired Vita Elan SPA with dual 4HP pumps had one pump unplugged. Plugging it in resulted in the discovery that the pump was locked up. I disassembled and found the impeller failed/exploded on the motor shaft and rubbing on the housings.

The original 56Y framed wet ends for the 4 HP motors are obsolete. The parts themselves are also difficult to locate (and rather expensive) so the general recommendation is just to swap out the whole wet end with something ‘newer’


The newer Vita Spa’s use a 310-1740 wet end (impeller + housing + cover + wear ring + seals). It appears the main difference between the stock older NLA units and the newer 310-1740 is that the output fitting was shorter (new style is a little longer). The threads/mounting/etc. is otherwise the same so it should be a direct swap fit. This is a cross reference from 423038 VITA part number that is listed on their part sheets/catalogs.


Summary:

VITA P/N: 423038

Generic P/N: 310-1740

Description: 56Y Frame 4HP Wet End w/ 2″ inlet/outlet (3.1″ if measured with a tape measure).


Connecting Ubiquiti Aircam to Synology NAS – Surveillance Station 6.1-2941

How to:

This requires you to modify .conf files on your Synology NAS. If you are not familiar with how to do this or are not good in a UNIX terminal, you may want to investigate adding this package to your NAS before starting (for file editing): http://mertymade.com/syno/#cfe

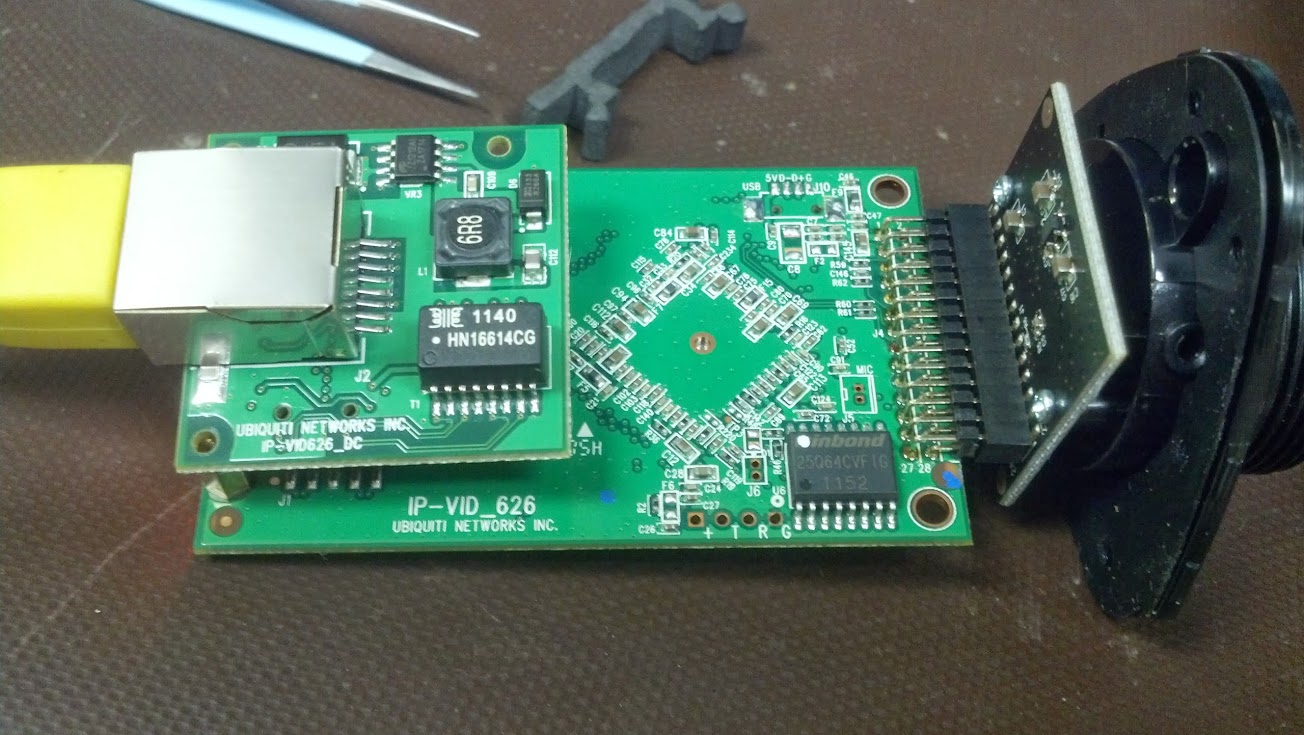
Make sure both your UBNT Aircam and the Synology NAS are running most current (current date 2/20/2014) firmware/packages.

Start the SSH service on your NAS if you wish to SSH into it using Putty or some other flavor of client. Do this by logging into your NAS, selecting Control Panel, then clicking on Terminal. Select ‘Enable SSH service’ and click apply. Confirm that Surveillance Station 6.1 is already shut down before editing files (you can confirm this in the package manager)

SSH into your NAS by entering the IP address and using the default port. Username:  root, password: admin

Example: Type ssh root@192.168.1.2 hit return and then wait for prompt and enter the password “admin”. Replace the IP address with your NAS IP address and if you have changed your root password (you really should) it will be something besides admin.

Navigate to and edit the following files (I used the vi command followed by a space and the file name):

/volume1/@appstore/SurveillanceStation/device_pack/

camera_support/camera_model.conf

Add under the {camera*list] (using vi, you click the insert button on your keyboard and then scroll up/down):

[camera*list]
UBNT*Aircam=UBNT*generic
D-Link*DCS-900=D-Link*generic
D-Link*DCS-2121=D-Link*generic-gr1
LINKSYS*WVC54GCA=LINKSYS*generic
TRENDNet*TV-IP100=TRENDNet*generic-gr1
TRENDNet*TV-IP100W=TRENDNet*generic-gr1
TRENDNet*TV-IP100-N=TRENDNet*generic-gr2
TRENDNet*TV-IP100W-N=TRENDNet*generic-gr2
TRENDNet*TV-IP212=TRENDNet*generic-gr3
TRENDNet*TV-IP212W=TRENDNet*generic-gr3
TRENDNet*TV-IP400=TRENDNet*generic-gr1
TRENDNet*TV-IP400W=TRENDNet*generic-gr1
TRENDNet*TV-IP410=TRENDNet*generic-ptz1
TRENDNet*TV-IP410W=TRENDNet*generic-ptz1
TRENDNet*TV-IP512P=TRENDNet*generic-gr4
SparkLAN*CAS-335=SparkLAN*generic-gr1
SparkLAN*CAS-335W=SparkLAN*generic-gr1
SparkLAN*CAS-633=SparkLAN*generic-gr2
SparkLAN*CAS-633W=SparkLAN*generic-gr2
SparkLAN*CAS-673=SparkLAN*generic-ptz1
SparkLAN*CAS-673W=SparkLAN*generic-ptz1
Sony*SNC-RZ30N=Sony*generic-gen1-ptz
Sony*SNC-RZ30P=Sony*generic-gen1-ptz
Sony*SNC-Z20N=Sony*generic-gen1-z
Sony*SNC-Z20P=Sony*generic-gen1-z
Siemens*CCIC1410-L=Siemens*generic-gr1
Siemens*CCIC1410-LA=Siemens*generic-gr1
Siemens*CCIC1410-LAW=Siemens*generic-gr1

Then add, down below where the camera port/streams are called out:

[UBNT*generic]
      port=554
      video source=”/live/ch01_0″
[D-Link*generic]
port=80
video source=video.cgi

etc.

Use ch00_0 for higher resolution video.

You then need to save that file (in vi, hit Esc, followed by a colon, followed by the letters ‘wq’ and then hit enter.

Next edit the following file:

/volume1/@appstore/SurveillanceStation/device_pack/

camera_support/UBNT.conf

It doesn’t exist (it will be blank and empty) however if you use VI (or similar editor) and save the contents, it will create the file for you.

Within that file, paste the following:

[UBNT*Aircam]
api = ubnt

channel_list = 1

default_channel = 1
resolutions_h264 = 640×480, 1280×720

default_resolution_h264 = 1280×720

fps_h264_[640×480] = 5,10,15,20,25,30
fps_h264_[1280×720] = 5,10,15,20,25,30
default_fps_h264_1280x720 = 10
default_fps_h264_640x480 = 10
default_image_quality = 5

h264 = rtsp

default_username = ubnt
default_password = ubnt

(Again, if in vi, hit Esc, then enter ‘:wq’ and hit return to save)

Restart your Surveillance Station 6.1 package and go add a new camera.

Select UBNT and Aircam.

Name your camera, enter port 554, your proper IP, and H.264 as your video type. Username and password need to match what you have set up on the Aircam in the web interface under video, RTSP Authentication (username/password). Synology only includes one free camera license per NAS unless you buy additional licences through them (search the web to find out more).

Hope you enjoy having your NAS directly talking with your Ubiquiti Aircam.

Thanks,