In my home shop I have installed a new-to-me-but-used Magnum 18 mini-split so that I can have heat and AC while working. I picked up this unit very cheaply, having been uninstalled from what I assume was a grow operation. While it required some deep cleaning, the unit was otherwise spotless and for the price, a steal. Getting a new lineset connected up, charging, and testing is a story for another time, however I have recently had some issues with it that I wanted to document.
Occasionally, especially during winter, I would start getting E1 codes when asking the unit to do anything (heat, cool, dehumidify). After messing around with Mirage’s ridiculous app, lots of google searching, and some postulation…I realized that this was indeed an “Overpressure” error code. As I had measured in the refrigerant precisely using a scale, I found this very unlikely (especially since it has tended to be present in the cold weather, when static system pressures would be lower). I decided it was time to open up the unit, confirm the error, and see what I could do to fix it.
The main control PCB lives in the outdoor unit (the indoor unit being powered through this as well). I removed power, cracked the lid, and was greeted with a nice surprise.

No real difficulty getting thus far and very happy to see what appeared to be the main control board cover right at the top! Somewhat ironically, the error code list sitting right there, obvious, while I was scouring the internet for diagnostics information.
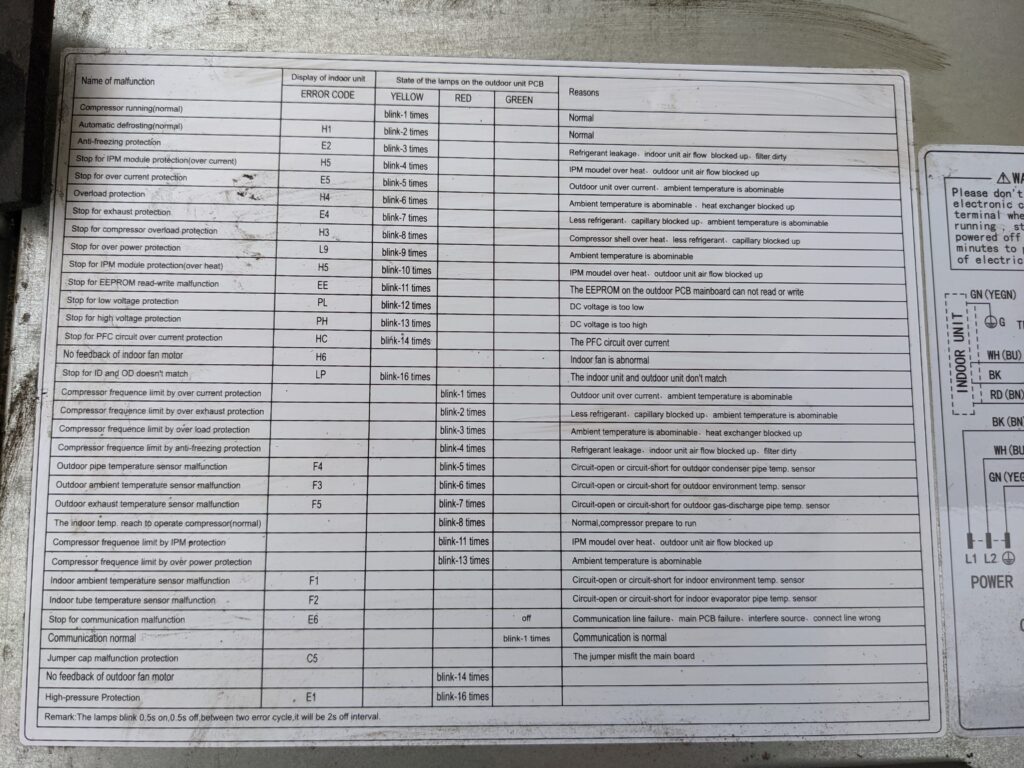
This is particularly useful, and hopefully helps others in the future as well that might be looking for codes before opening up their unit. I confirmed that the indoor unit “E1” code indeed meant that the unit thought it was in an overpressure state. Checking the wiring diagram nearby, it appears there are two pressure sensors (Normally Closed) that open when a high pressure condition occurs. Probing the two sensors on the board (OPP and OPP1) showed that there was 5V across one, and 0V across the other. OPP, plug pulled and continuity checked, was open and indicating a high pressure fault.
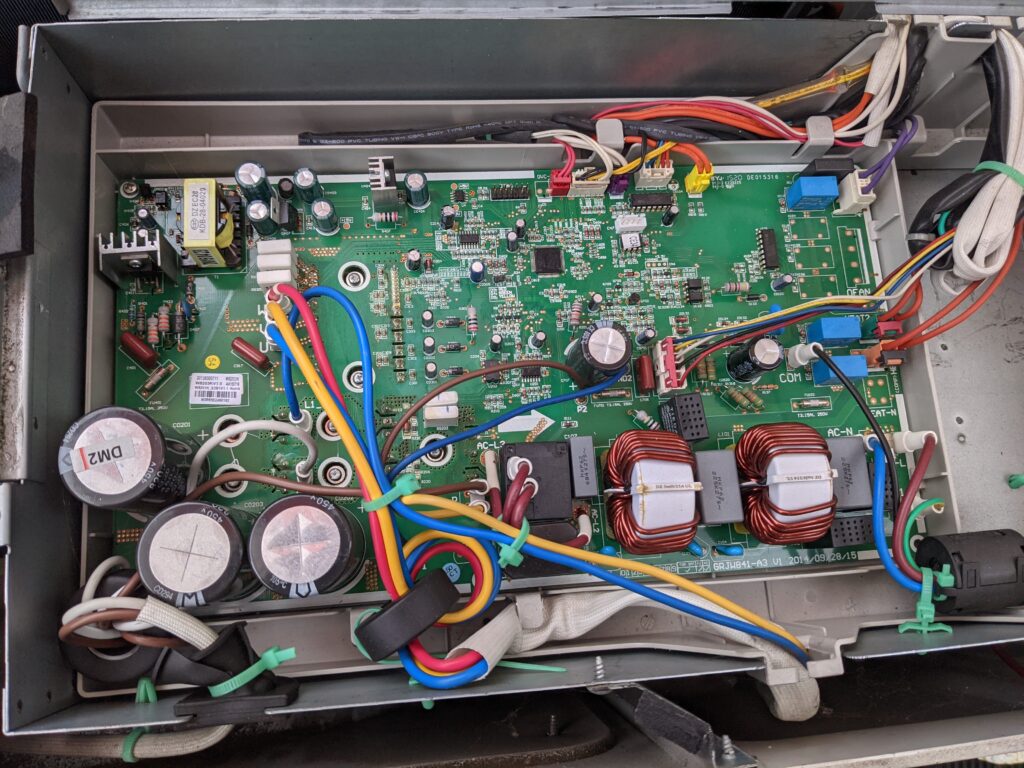
Having a closer look at the sensors, it appears that OPP has a higher pressure setpoint than OPP1. This would indicate to me that since OPP1 is not indicating an over pressure condition, OPP has an open in the wiring or the sensor is failing. To confirm this, I placed a alligator clip across the two pins on the PCB, effectively telling the board that OPP is “OK” and to start the unit. The error code cleared, the red LED started blinking 8 times (normal condition of operation), the green LED said I had communication with the indoor unit, and the compressor/fan started to run. Excellent.

Now to move down to the sensor, I pulled the front cover off (a couple more phillips head screws) and followed the cables down to the respective sensors.
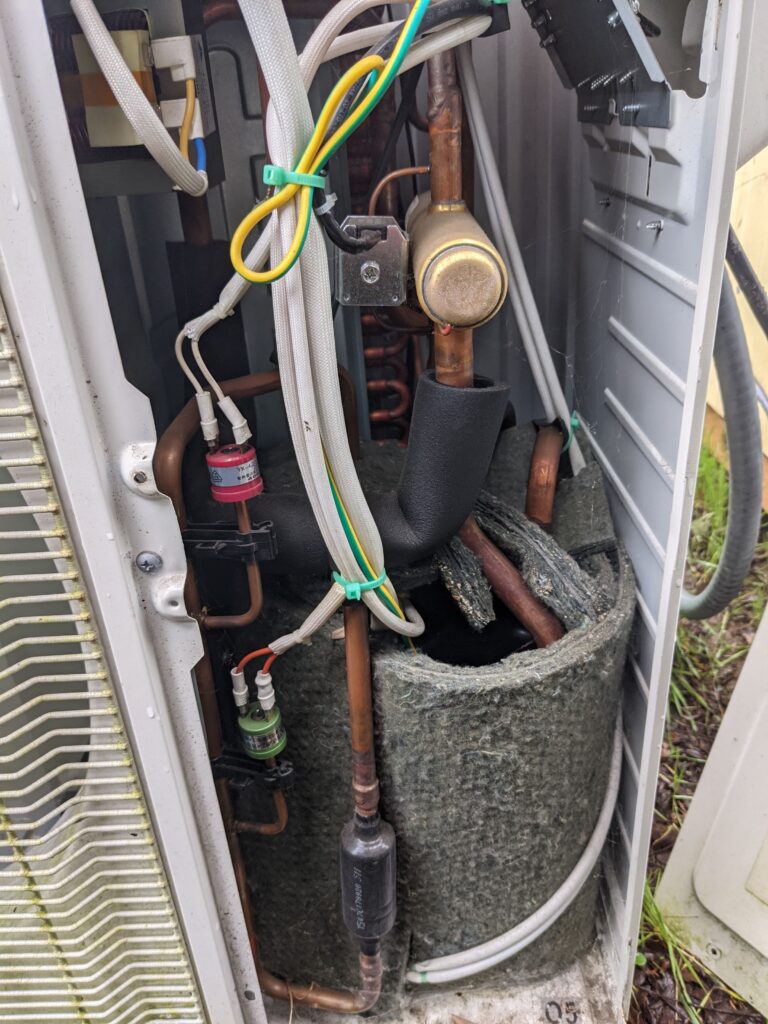
Wiggling connections, it appears there may be a loose spade terminal at OPP (red sensor) that could perhaps be causing the open condition? This line sees vibration from the fan and compressor, and was showing continuity when I checked it again after jumping the pins on the PCB. I cleaned the terminals and re-connected the sensor.
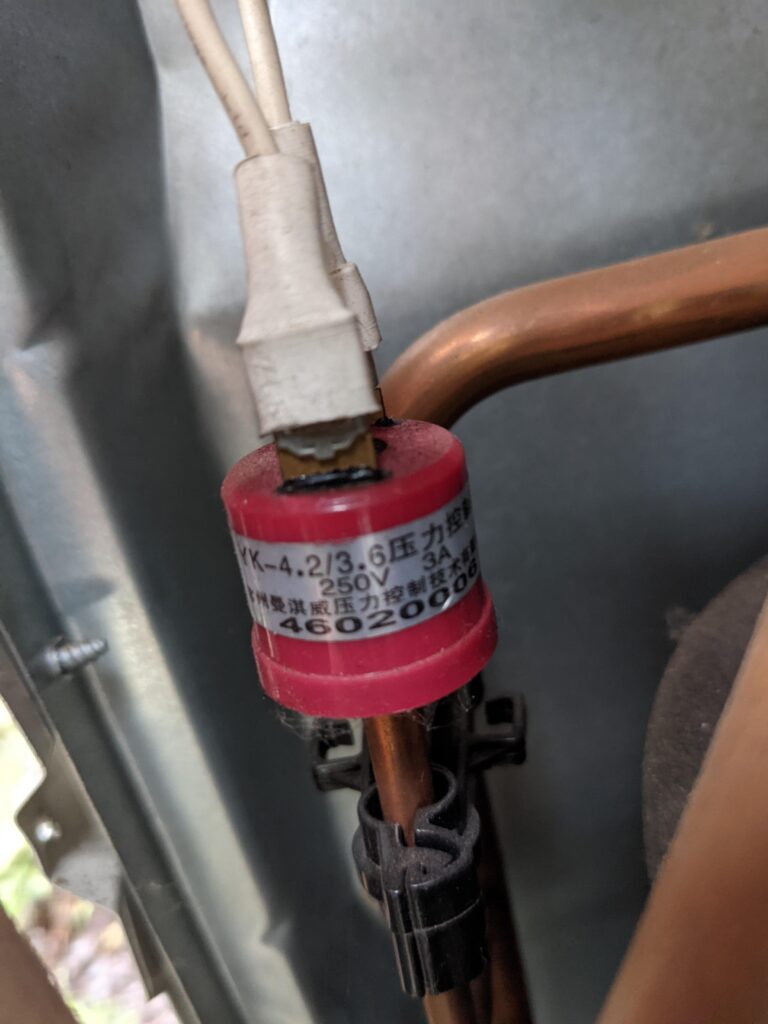
I snagged a photo of the sensor before moving forward incase I need to replace it. Unfortunately this sensor is brazed in place, so would require a full system evacuation and re-charge. This part number is a valid, and available across the web fairly cheaply (<$20)
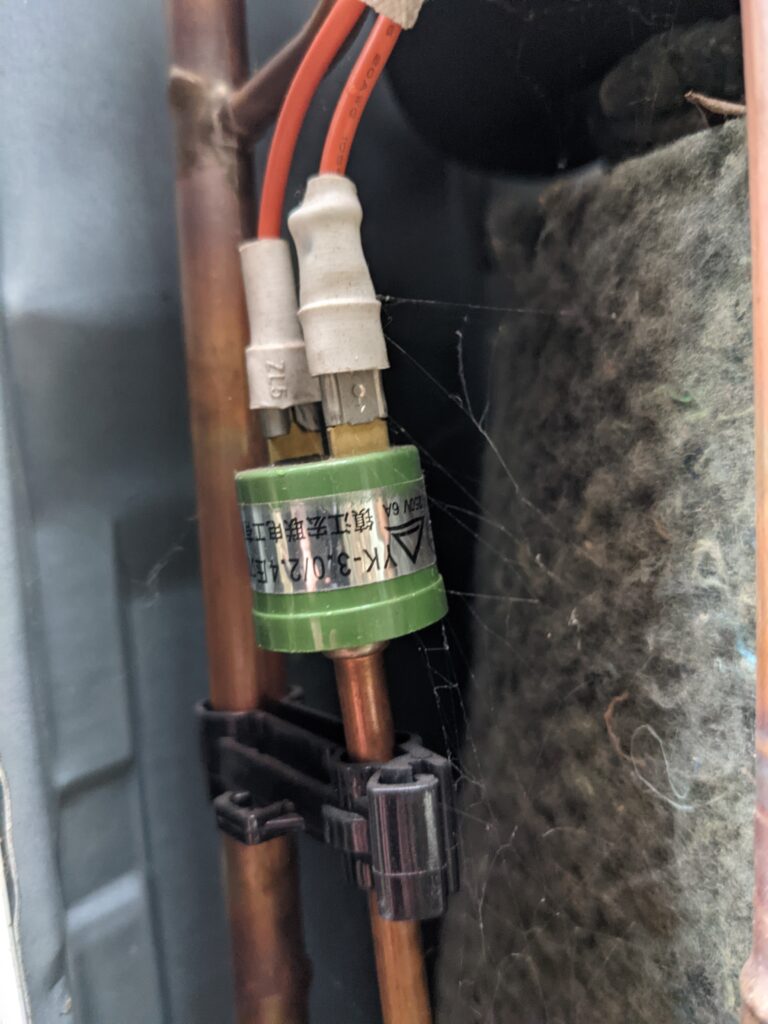
OPP1 below tested good and appears to be working fine. No issues there so left well enough alone.
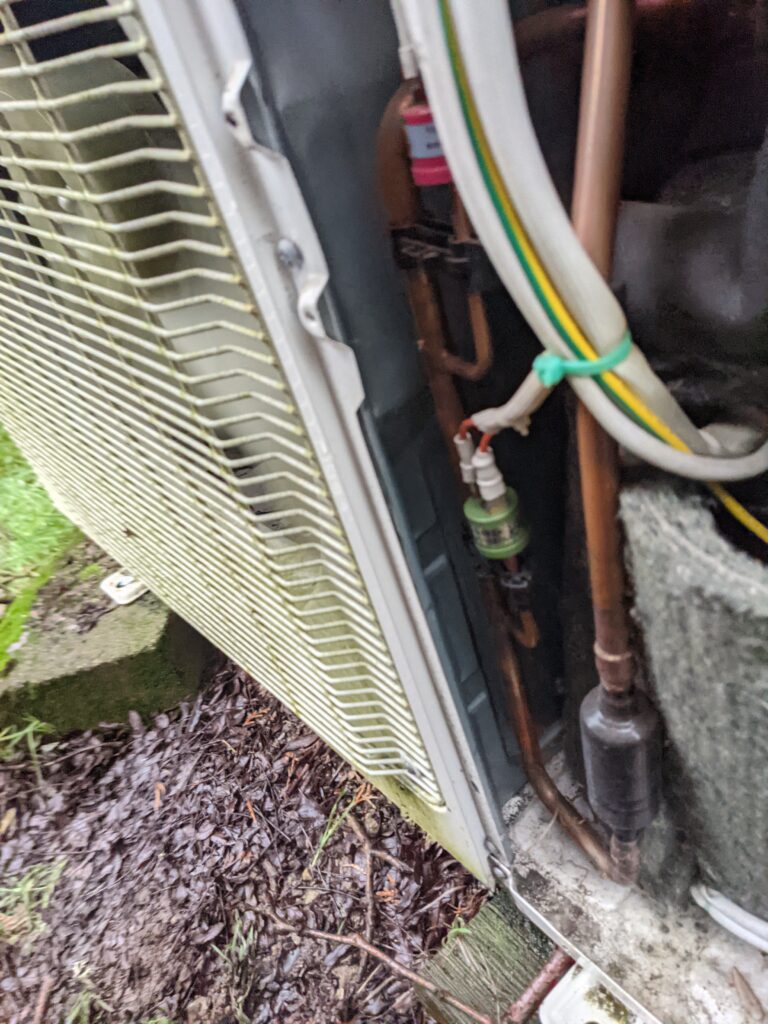
These two sensors are very easily accessed and should be not too terrible to replace if I need to do so later on. Brazing in tight quarters gets tricky so I appreciate that these aren’t buried into the enclosure, surrounded by flammable objects. I will report back later if this terminal cleaning did the fix or to expect a sensor replacement post in the near future. To keep things running (unit keeps the shop humidity controlled and above freezing) I may bypass the high pressure sensor until I can do the fix, understanding that the lower should activate first (and is unlikely to do so during the winter after 4+ years of operating normally). Thanks for following along!